Monday, February 27, 2012

Knitted Neck Warmer Pattern


I just realized how long it has been sense I've posted any knitting...(Probably because I haven't had much time to knit)...  :(
Anyway, I thought I would share my pattern for a VERY Easy Neck Warmer....


Because this is the pattern I use for my beginner knitters the instructions are for Garter Stitch (Knit every row) but it looks lovely in both Stockinette and my favorite a Basket Stitch.
You can make it as thick or thin as you like just by casting on more or less stitches...It really is simple!


DENISE’S SIMPLE NECK WARMER:

 
This neck warmer is so easy and yet so well received you’ll want to make one for every one you know!


MATERIALS:


1 skein Heavy worsted or Bulky weight yarn…I love Sensations, ANGEL HAIR it’s inexpensive and oh so soft!! (I get it at Joann’s but they don’t always have).


1 size 10 (US) circular needles

 
CAST ON 15 STITCHES


Knit every row until piece measures 24” or desired length.


TO MAKE RUFFLE:


In the next row loosely knit into the front and the back of every stitch


Turn and repeat for next row


Bind off


I put decorative buttons on the outside and then sew small buttons under them (these can slip through the knitted fabric so you don't have to make button holes)...This way you can adjust the fit of your neck warmer and change the way you wear it.

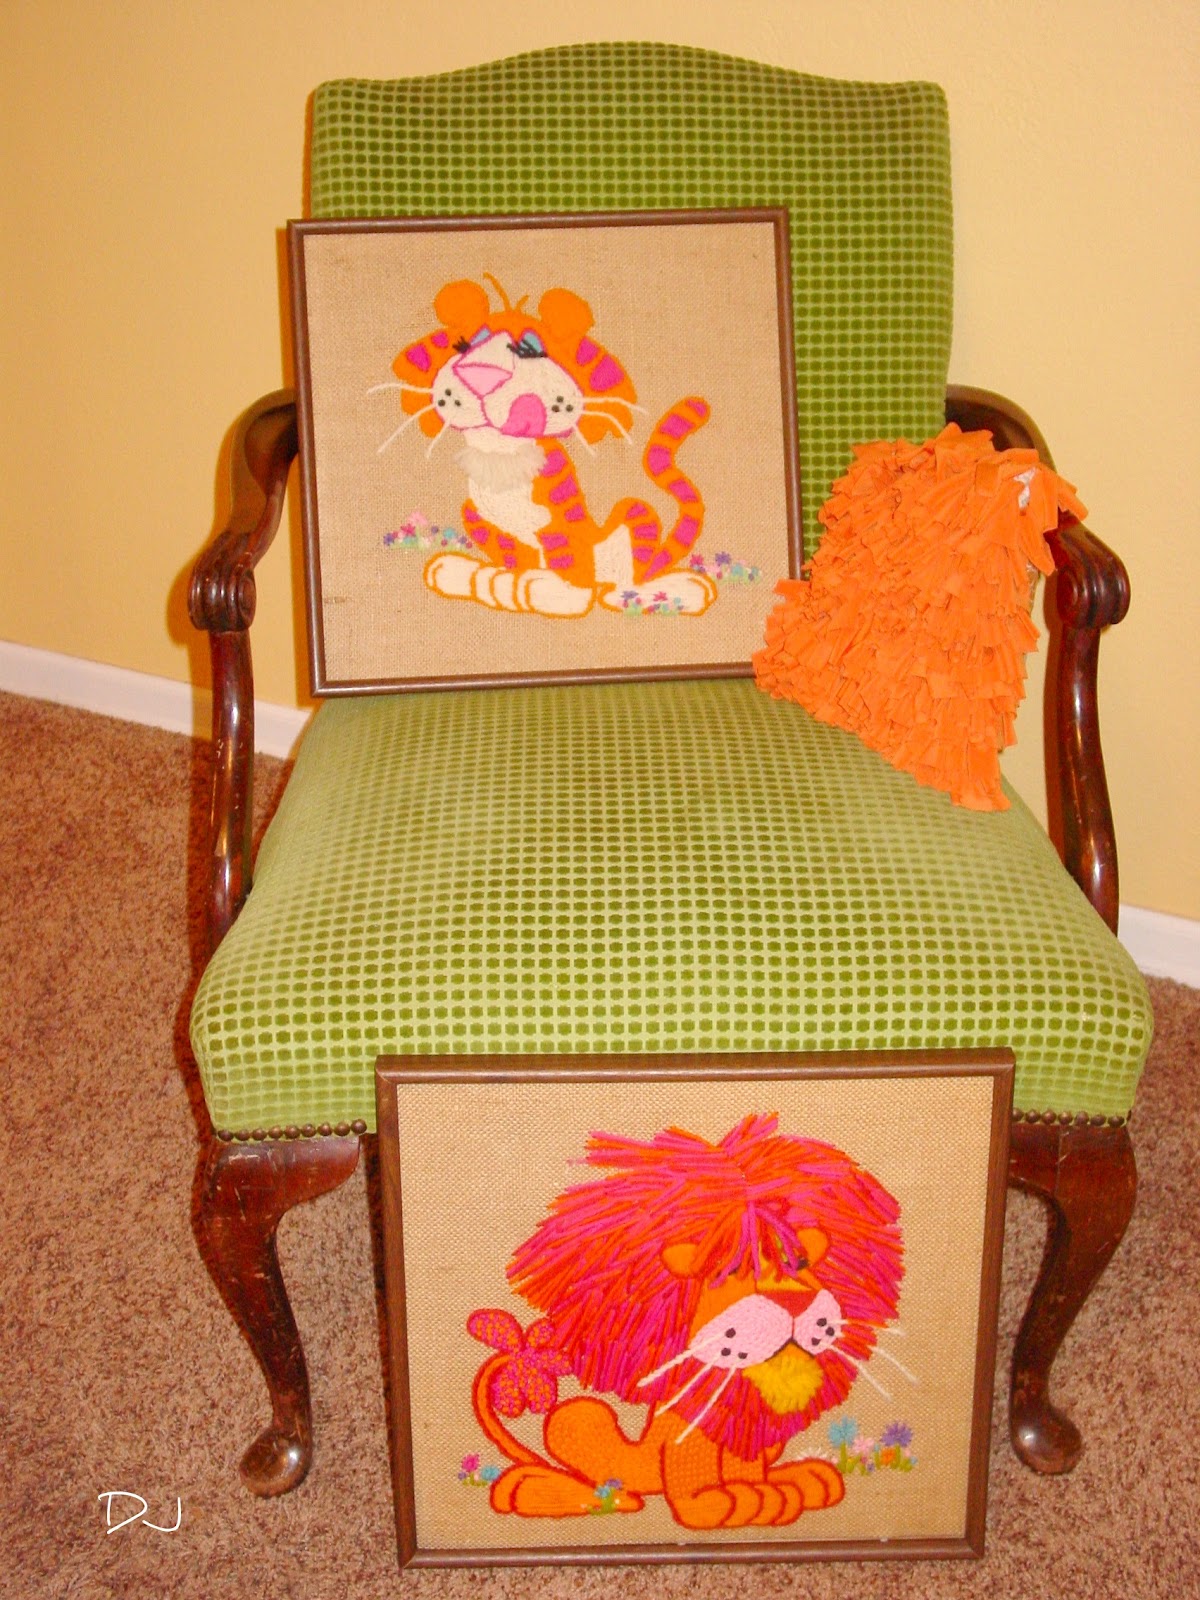
The other option is to make a pin to match...again this gives you he opportunity to wear your neck warmer
in several different ways.

Give it a try...I bet you can't make just one!!!
Thanks for visiting!
Denise
PS:  I will be linking up to many of the parties on my side bar.  :)

Tuesday, February 21, 2012

Thrifty Finds

Life has been CRA-A-A-ZY, so I have no new projects to show you...
BUT
I do have some fun "thrifty finds"!!!


I found these two AWESOME pink and ornage sticherys my local GW for 1.99 each and just couldn't pass them up (I might be a little out of control).....


but they are sooo cute and I just love the color combination!!!


Not to mention the darling expressions on the faces of these two "Kittys"

I also picked up this....


Mid-Century Modern Stereo Cabinet....

I wan't sure what to do with it untill I saw this "LOVELY".. by Jill at Weathered Pieces
What a great idea to leave the doors off and put a shelf in the middle...
I can't wait to get started!! 

                       Last....but not least I got these Bad Boys in Seattle for only $11.79...
Ya-baby thats what I said...$11.79 and they're Python Too!!


Nice huh!!

(The only problem is they are a size mens 7 and don't fit any of us)
Maybe I'll sell them on e-bay.
Well that is it for this week but do check back and see how my Stereo Cabnit turns out!!!

I have a few other goodies "up my sleave" too...Just need the time to do them!!
I will be hooking up to some of the parties on my side bar so please check them out and don't forget to stop by Weathered Pieces ...Tell her Denise sent you.  :)

Tuesday, February 14, 2012

Kids Art: Painter's Tape Tree

Here's another fun project I did with my after school art class.  For the month of February we did a study on trees and this was my kids very favorite project....

Interesting enough it was also the lesson that they had the hardest time understanding the concept, at least at the beginning (mostly the younger ones)....The Tape is used as a "resist" to keep the water color off or away from the paper

So here is the lesson plan....


Like the tree of hearts we started out discussing the shapes of trees...


How the are larger at the base of the trunk and get smaller at the top and that the branches do the same...they are larger where they are connected to the tree and get smaller as the grow outwards.
( a tough thing to do when your tearing tape to make a branch)
anyway...


We looked at how at the end of a branch you can often see the Y shaped.
(The top two trees are good examples of this) 


I then gave them a piece of watercolor paper and some tape...showing them how to tear the tape to make the tree...(I did a step by step example for them in the front of the class)...

Some of the kids needed a little help getting started and even along the way....
but they did an awesome job!!!

We started with the trunk and the large branches (I suggested 3 large branches) and then used the left over tape for the smaller ones.


The next step is to paint the whole piece of paper (including the tree) using watercolors...
I let them choose their colors but suggested they do a night time scene with a moon or maybe a sunset...


For the moon I asked them to put it in the branches (so that when the tape comes off, it looks like the moon is behind the tree)...NICE!


My plan was to take the tape off after the paper was dry but the kids couldn't wait....so as long as there wasn't "puddles" still sitting on the paper we took it off without a hitch....
Some of the kids did have a problem with the paint running under their trees.
(Possibly the tape wasn't pressed down hard enough or they used to much water)


My easy fix was wait till next week and then paint the tree.  :)
(You've gotta LOVE the MOON on this one)

Well that's it...Go ahead and give it a try it was sooo fun!!!

I will be linking up to many of the parties on my side bar...check them out!!!
and as always...
Have a great week!!
Denise

LinkWithin

Related Posts with Thumbnails

Autumn

Autumn
Autumn modeling a hat I knit for my etsy shop...What energy!!