I don't know about you but life sure gets w-a-y busy when the kids go back to school...
Not that I'm complaining, but sometimes it seems I don't have time to catch my breath.
On the upside the weather has been lovely and I have managed to get a few projects done...
Down side....no time to post them. :)
Anyways...my apologies and I will try harder to get things posted!!
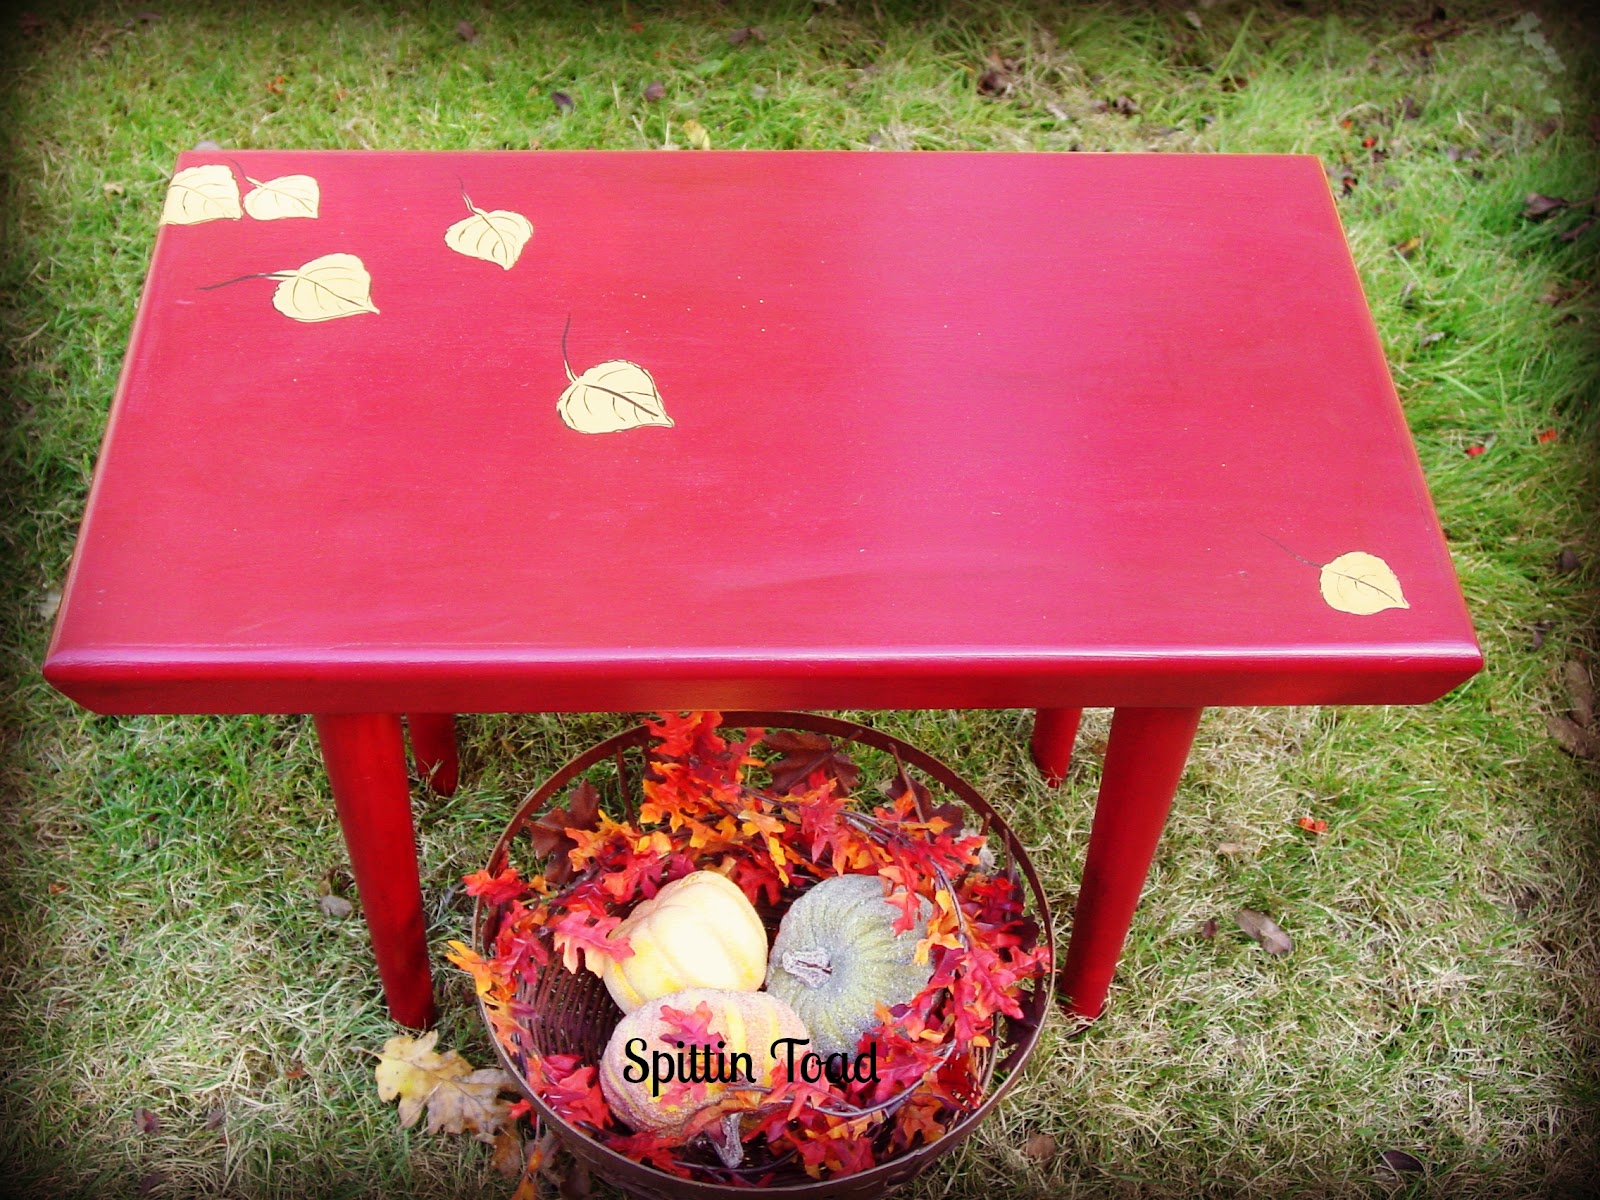
I'll start with my Little Red Coffee Table because...
I LOVE IT!!
It started out as this beat up brown table that I got at a garage sale. I knew I wanted to paint it red but I had a tuff time finding the perfect color....Until I ran across "Barn" Red by Martha Stewart.
I know they show up way different on computers but this is really an AWESOME RED...
If red is what your looking for, do try a sample of this one!!
Anyway after painting it "Barn" red I placed some aspen leaves on it and traced around each one with a pencil.
I then painted them with (again the perfect fall color)..."Yam" also by Martha Stewart.
I used my acrylic craft paint to outline the leaves.
Last step was to wax the whole thing with BRIWAX in "Golden Oak"....It gave the table a nice rich patina!
So there it is a lovely little red coffee table...which by the way looks way to nice in my living room...but I bit the bullet and brought it down to Viking Village. :(
Thanks for visiting and stay tuned. Because...
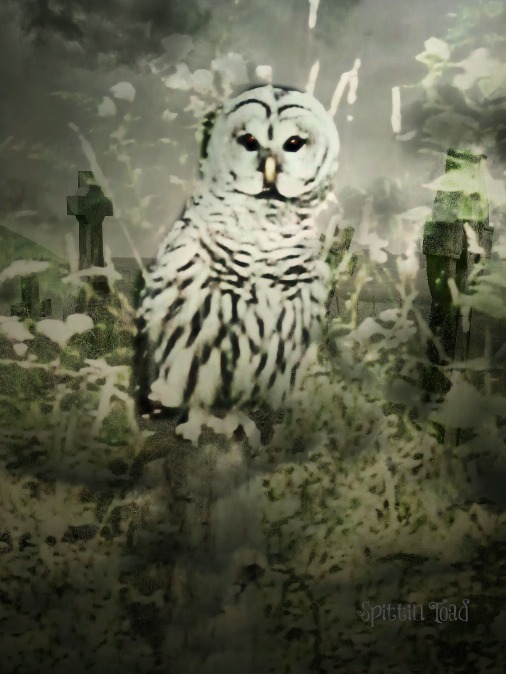
This week I plan on finishing my "Post Cards from Paris" Table. I will try to share that with you as soon as it's done! Plus I have some great pictures of an Owl we saw in the field and maybe I will give you a peek at my little space... Just because I love it when people show me theirs...that sounds kind of weird! :) but you know what I mean!
Anyway I also plan on linking up to many of the link parties on my side bar...
If I can squeeze it in. :)
Talk to you soon.
Denise

 Christmas Red Velve...
  Knitted mug cozy, t...
  Christmas Red simpl...
  Set of 3 Red Birds,...
  Chalkboard Pendant ...
  Bright Red Czech Gl...
  Christmas red reind...
  Christmas red winte...
  Ink Pad - Stamp Ink...
  Christmas Red and W...
  Red Bunting Banner ...
  Throw pillows Chris...
 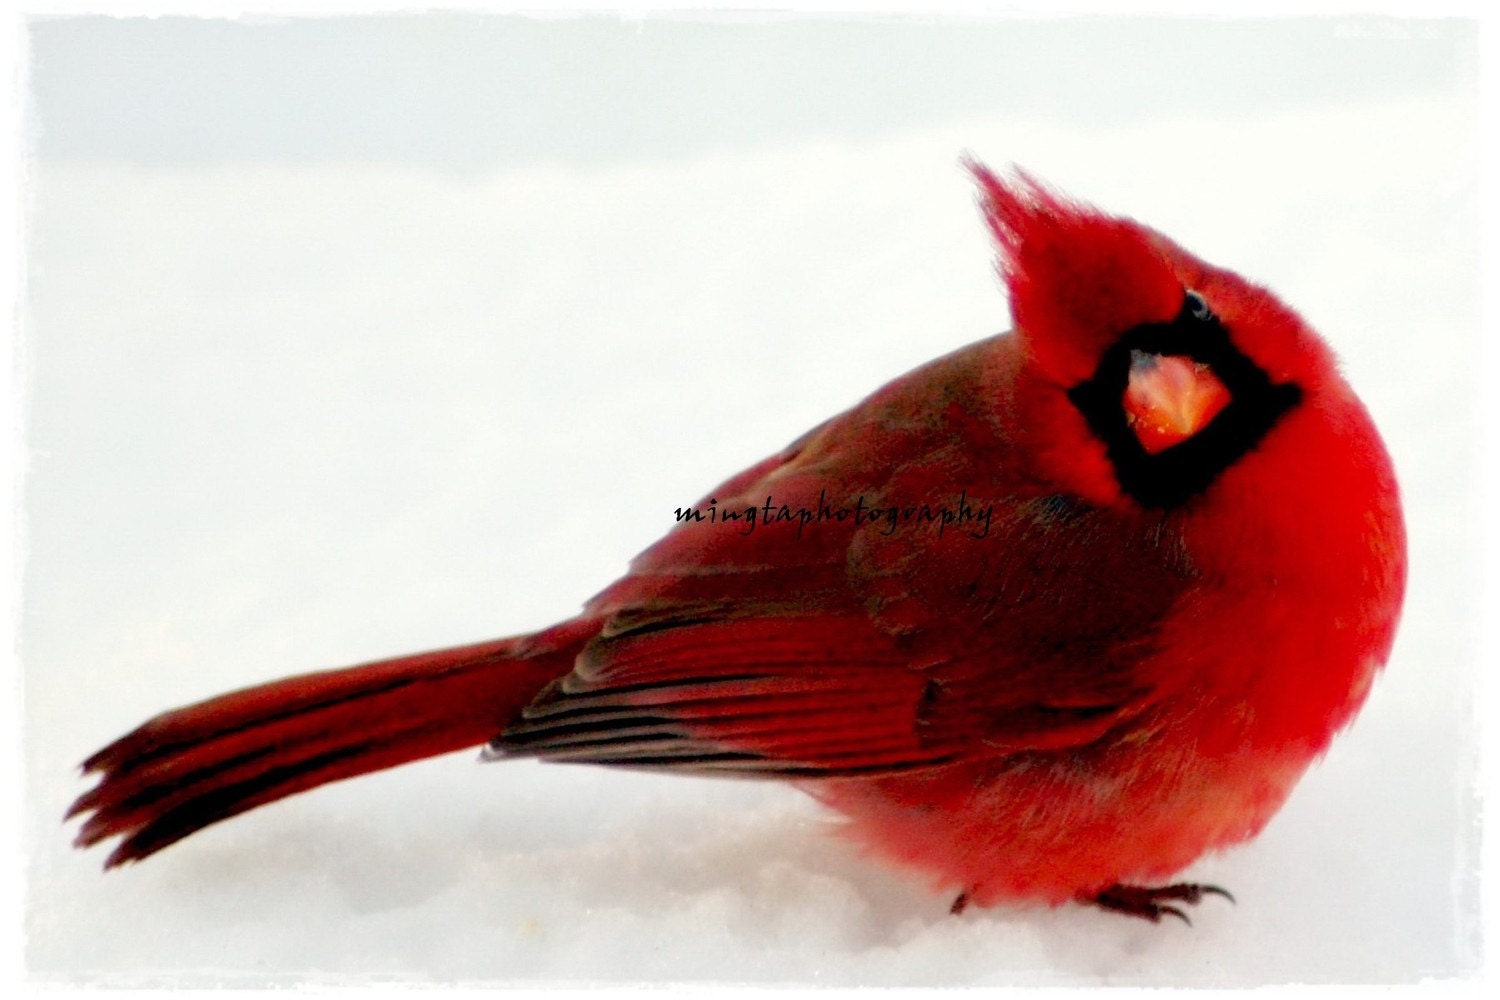 Yes Dear - Male Car...
  Holiday Winter Wood...
  Ceramic Porcelain C...
  Necklace red cotton...