Showing posts with label awesome furniture. Show all posts

Friday, January 23, 2015

Vintage Desk Makeover or How to Paint Camouflage


I got two desks for a buck a piece about 3 years ago...Yup that's right 2 desks for $2.00...and yes, it took me 3 years to get around to doing something with ONE of them...
But it did turn out GREAT!!!


My nephew Gavin was turning 4 and loves to draw on our Chalkboard Coffee Table so I deiced it was time to pull one of the desks out of the garage and paint it!

With a daddy that was in the military, and Gavin being such an outdoorsy little guy Camo was the obvious choice.


The fist thing I did was lightly sand and prime the wooden top. I then paint it with 4 coats of chalkboard paint....This baby had to be sturdy, it was going to be abused in every way and I didn't want to have to repaint it in a month.  :)

Yup, I have great taste in beer.

After the top was dry I covered it and Garret sprayed the rest of it with primer.


I considered refinishing the wood on the chair but the clock was ticking so we just spray painted it too...


In the end I think it was the right choice!


After priming it we used two different shades of flat green and sprayed them on randomly.

Now for the fun part...(which happened while I was at my real job).  Bryan gathered up some fern and some cedar branches.  Holding them against the desk he sprayed them with flat black paint, to create the wonderful leave pattern on the desk.


This is what the desk top looked like by the end of the party...
I think one could say it was a big hit!  :)


Thanks for visiting and if you have any questions on this project just leave a message in my comment box, I would love to here from you!

Denise
I will be linking up to may of the parties in my side bar.

Thursday, November 7, 2013

Chalkboard Table and Chairs


Well I finished those chairs I picked up to go with the chalkboard table...
If you recall I painted the table last year. (you can find it here).  But it never sold...So I decided to get rid of the pink and paint some chairs to match...hoping it might sell for a playroom.


The chairs had a heavy coat of varnish...or something like that...so I painted them with a coat of oil based primmer first.

Below is the before picture ( along with some other goodies I found).


I must say chairs are a pain in the rear to paint!!  But I persevered and was happy with the end results.

I added turquoise stripes to match the table and then stenciled on the words Play and Have Fun on one and Dream, Create and Draw on the other...Okay to be honest I can't really remember what  I wrote on that one for sure and my pictures aren't very good...but you get the idea...I hope!


I also painted the back of the chairs with chalkboard.....


Here they are at the market.

I wish I had gotten better pics but I finished them the day before we had to set up so I am amazed that I took any at all!  Do you want to know the funniest thing is??  The chairs sold but not the table...What the heck??? Guess I'll be looking for more chairs!  :)

Thanks for visiting and know that I will be linking up to many of the parties on my side bar. 
Denise


Friday, October 25, 2013

Sewing Table


Hello friends...I've got so many projects to share with you, I wasn't sure where to start.  I was a vender at Valley Vintage Market two months in a row ...This kept me working hard to finish things...It also meant I didn't pay much attention to my Blog...So sorry about that!  :)


This was one of my favorite pieces (and my photos turned out good....which doesn't always happen)...
So I thought I'd start with it.


I got this lovely from a friend this summer...stripped and ready to go...How easy is that??
I can't believe it took me so long to get around to painting it...
I guess I wanted it to be perfect and it took a while to figure out what I was going to do.....


I was very happy with my Side Table that was both stained and painted  and wanted to do something similar with this piece....

So I stained the top and the front Walnut..(because that's what I had on hand) and then painted the sides with homemade chalk paint in my usual Martha Stewart white (Glass of Milk).


I think I was influenced with the beautiful autumn colors....because I choose this wonderful yellow for the center...plus it looked great in my living room ...just in case it didn't sell.  :)


I choose a drawer pull from World Market for the center drawer...


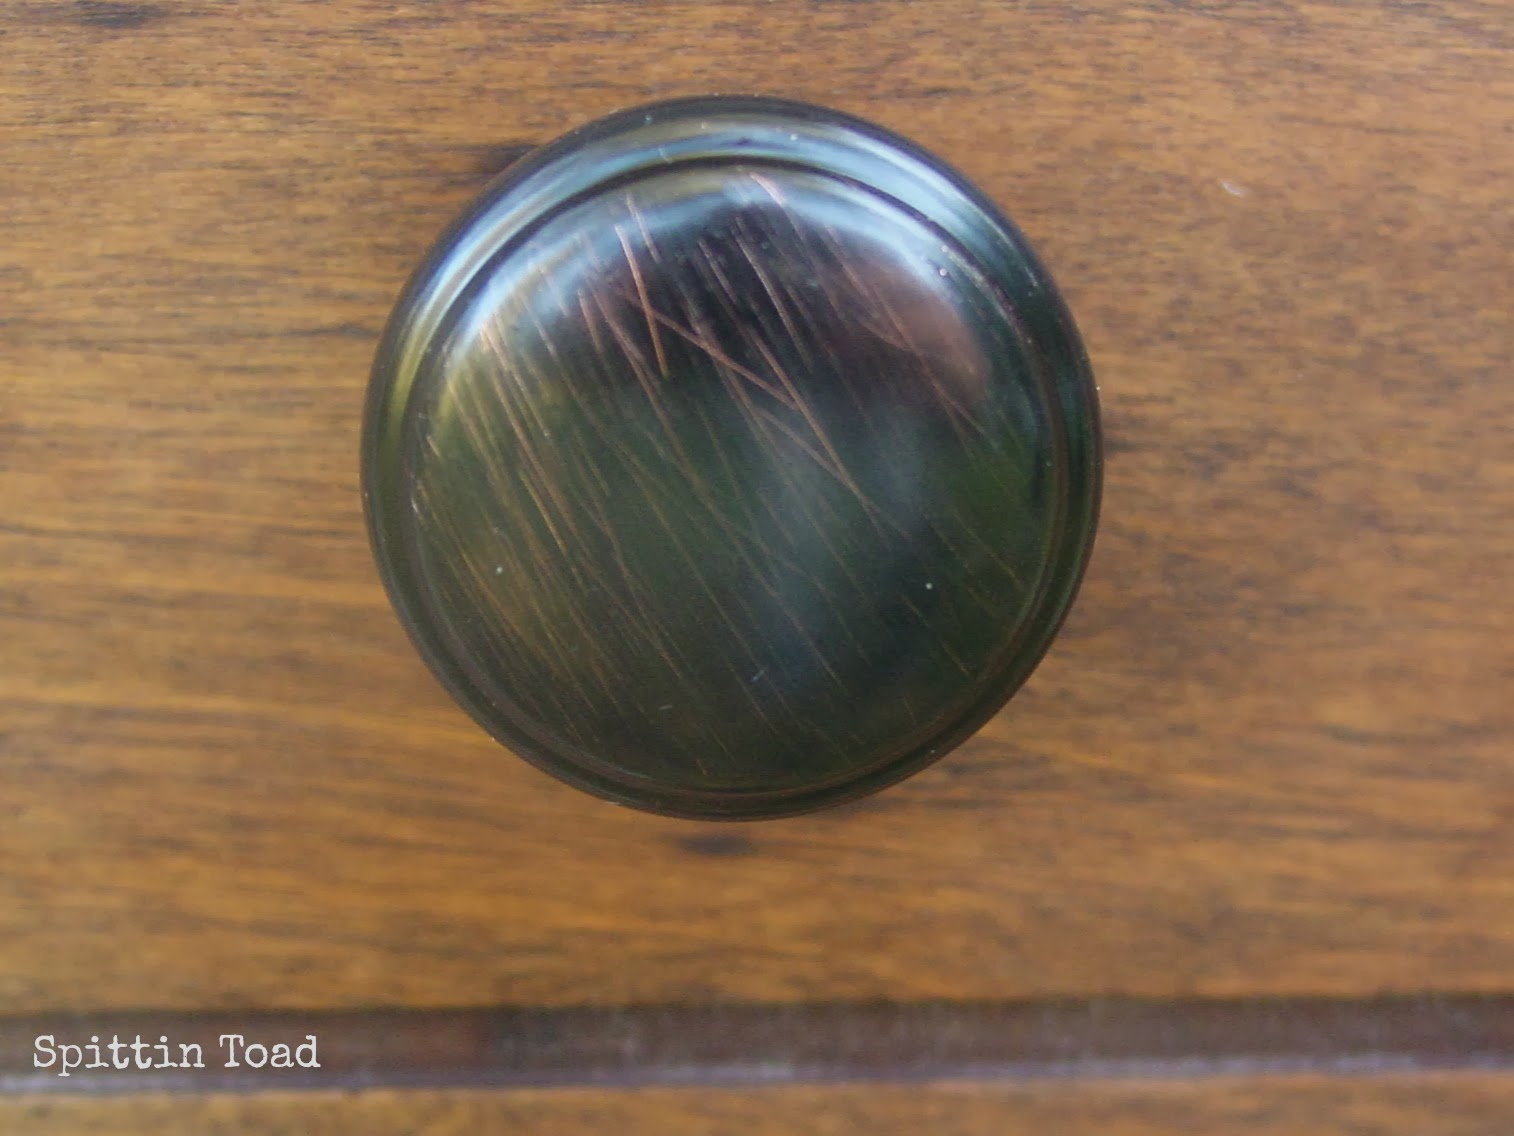
and a basic  bronze for the others.


Didn't she turn out lovely?  
And she was a perfect fit in my living room...but she sold on Saturday, so I had to say good-bye.

That's okay...I have a vintage secretary I'm working on that would fit in the same spot...just until it sells of course!  :)
Thanks for visiting and stay tuned for more furniture makeovers!!
I will be linking up to many of the parties on my side bar.  :)

Denise

Monday, October 14, 2013

Cottage Side Table

Just finished this cutie on Friday and I must say..."I am very pleased with it"!!
It was in great shape when I got it...Forgot to take before a before picture but it was painted white and...


Just need a little "freshing -up"...
So I grabbed my favorite Martha Stewart White...
Added some plaster of Paris to make chalk paint...
And painted the outside.


The drawer and the inside got a couple coats of rainwater ( I think that's a M.S. color too.... I get it at Home Depot).  I lightly distressed it and the gave it a clear coat of wax.


The drawer pull had a 70's look and I wasn't in love with anything I had at home so I decided to make my own...What do you think??  I really like it!!

I twisted two strands of twine...ran it threw washers and then threw the drawer and tied a knot on the back side.  I used crazy glue to glue the washers to the drawer...Just to keep them where they belonged.


I will be selling it at Valley Vintage Market this weekend on Central Valley Road here in Poulsbo...Come say hello!!

And as usual I will be linking up to Parties on my sidebar...check them out too!!

Denise


Wednesday, September 11, 2013

Drexel Side Table in Milk Paint

Wow I've been out of sorts lately...I'm not sure if it's the chaos of school starting or the fact that I got a bug and have felt like crap for a week now...maybe it's just the end of summer but I haven't felt like blogging...I go to the computer but only have the energy to scroll threw Pinterest...


I have manged to get a bunch of projects done...I've been making jewelry, bags and painting furniture for the Valley Vintage Market coming up in just 10 days and I'm a bit nervous or maybe it's neurotic but I'm scared to death I wont have enough done...I have this vision of what I want it to look like but I'm running out of time.  :(


Anyway this Lovely will be there....
She's by Drexel and is definitely a quality piece of furniture!!


Here's what she looked like when I found her....Her finish was beat up, but other than that she's a solid piece of furniture!
The first thing I did was sand the top...I've been wanting to do a two tone piece for a long time!
I painted the body with Miss Mustard Seeds Milk Paint (This is the first I've used it) and am very happy with the results!!!


After doing some distressing I applied a coat of wax...I use a blend of two waxes to get the color and the finish I want...


Isn't the detailing fantastic?


I painted the drawer pull in flat black to finish the look.


So what do you think??  I don't want to let it go....but I must!!
See you at the Market.  :)
Denise
I will be linking up to many of parties on my side bar.


Wednesday, July 24, 2013

Curbside Dresser

Don't cha just love a freebee on the side of the road???  They're my fav!!  :)
Speaking of favorites...One of my AWESOME girl friends is always finding things for me...She is a long distance runner and I swear she's everywhere.  :)  She's probably running right now as I sit at the computer with my cup of coffee typing...well at least my fingers are in shape!?!?


Anyway, she called me up one evening saying she found a dresser and I might want to take a look at it.....
Needles to say I grabbed my husband and off we went.


It was missing it drawer pulls and a bottom of one drawer, but other than that it was in great shape...so home it went.  :)


I mixed up some homemade chalk paint  (i use plaster of paris in mine) and painted it white....It had been a lovely green, so after the paint was dry I distressed it so some of the green showed through.
The cute drawer pulls came from World Market


For a bit of whimsy....I painted the sides of the drawers with random yellow dots to match the pulls.


I still need a little some thing so I headed over to The Graphics Fairy and downloaded this darling french bee design ...


Printed it out and used Mod Podge to transfer it.... You can find my tutorial on how to transfer on my side bar.  :)  Don't you think it was the perfect touch?


Here it is down in my little space...Needless to say it wasn't there for long.  :)

Thanks for stopping by!!
Denise

I will be linking up to many of the parties on my side bar...Do check them out!

Thursday, July 4, 2013

Shabby Side Table

It must be Summertime because I seem to be in a white and yellow mood...There is something about that combination that is so fresh, clean and warm...Just like a northwest summer.  :)


Anyway my last two pieces of furniture I painted in that combination...but they were both just asking for it...


Today I'm going to share the side Table I picked up after a Volleyball camp...
I drop my girl off and then went shopping...what fun!!


So this is how it started out...kind of beat up with a reddish stain...but I loved its lines...the criss-cross on the sides, the detail around the edges...It had potential!!


I gave it a quick sanding, grabbed my homemade chalk paint and got started...


It took 3 coats of paint and some sanding in between to cover up the original finish, but it was soooo worth it!! 


I used my a sander to "Shabby it Up" and then waxed it with my own little recipe...It's a combination of clear wax and Briwax in Golden Oak...I don't tend to use dark waxes...I like my colors clear and clean.


Lastly...I just had to share this lovely shadow that was on my side table when I went out to take pictures...It made me smile.

Denise

Will be linking to many of the parties on my side bar...do check them out.  :)

Thursday, June 27, 2013

Americana Stool DIY

Yup...This is my 3rd post in one week...Pretty amazing for me...
The thing is....I really wanted to get this stool up before the forth of July!!
So here it is....


I just finished it yesterday ....Possibly a little late to sell for the 4th....but I feel "Americana" is...Summertime...Rodeo's....Country Roads....and Red Necks... Not just 4th of July!!!!
Are ya with me?!?!


Anyway...It was a pretty strait forward design...
The first thing I did was paint the stripes...Using Painters tape to keep them strait...
Then I rummaged threw all my craft supplies, just to discover...I didn't have any star shaped stamps or stencils...nothing!
Can you believe that??


 I even called a "crafty" girl friend and she too...came up with nothing...(Not very patriotic of either of us)!  So I headed off to Walmart so see what they had (making my 15 year old drive...Can't believe she's already in Drivers Ed).  Anyway they did have stencils and after a good sanding...the rest is history...American History...Ha Ha....


That's it for now...I hope your 4th is a BLAST!!

Denise

I will be linking to may of the parties on my side bar.


Follow on Bloglovin

LinkWithin

Related Posts with Thumbnails

Autumn

Autumn
Autumn modeling a hat I knit for my etsy shop...What energy!!